Make fine art with a UW professor, from his kitchen to yours Make fine art with a UW professor, from his kitchen to yours Make fine art with a UW professor, from his kitchen to yours
The chair of UW’s Printmaking Program designed a popular new class during the pandemic, stamping out doubt about how effective remote learning can be.
Story and visuals: Quinn Russell Brown | inside portraits: Jackie Russo | Video illustrator: Jess Ornelas | September 2020

This article features two sections: A story about the class “Printmaking Without a Press,” followed by a hands-on tutorial of how to make your own prints at home.
Class officially starts at 9:10 a.m., but the Zoom lobby opens at 9. A lot can happen in those 10 minutes. “Oh, gosh,” a student whispers this morning. Her webcam is turned off, but she accidentally left her microphone on. “I need to put on pants," she says to herself—and to the whole class. Professor Curt Labitzke can only laugh. He's gotten used to the little moments of absurdity that can happen when a group of people gather virtually. “You should do that," he tells the scrambling student.
Labitzke, who has taught art at the University of Washington School of Art + Art History + Design for 36 years, has never experienced anything like that before. He takes it in stride, just as he will when his WiFi cuts out during the first 20 minutes of final presentations, or when a cat jumps on a student’s laptop during a lecture. “That was a big cat,” Labitzke pauses to say. “I have a big cat, too.” (It’s not the last time that cat will come to class: In week three, his paws will find their way onto the student’s workspace and drag ink onto a sheet of paper. It looked great.)
These are the kind of odd and at times exasperating moments that can make remote learning seem inferior or even impossible. But listening to students who took Labitzke’s monthlong summer class, “Printmaking Without a Press,” it’s clear that something special took place. “I learned more technique in this quarter than every other quarter combined,” art major Hongjun Jack Wu, ’21, tells the group on the final day of class. (If you’re counting, that means Wu has had nine quarters of art education.)
“Between work and stress, I was burned out,” added Amy Hemmons, ’20. “I feel like I’ve developed a momentum, and after this class is over, I’m going to continue doing art.”
Labitzke is a gallery-represented artist and the longtime chair of UW’s Printmaking Program. But he had never taught a class online until the pandemic hit, and the subject he teaches is inherently based on students and teachers interacting with physical objects together. So how did he pull it off?

Printmaking professor Curt Labitzke, photographed through his webcam in his kitchen where he taught students this summer. (Photos by Jackie Russo)

* * *
Each morning, after a few announcements, Labitzke picks up his laptop and walks to "the studio." On campus, this would be a lab with five printing presses. Now, it’s Labitzke’s kitchen counter.
There is a long and rich history of at-home printmaking. Before the invention of the printing press in the 15th century, people made prints by stenciling, stamping and rubbing their thoughts and emotions onto all sorts of surfaces. Before any of that, they pressed their paint-dipped hands on cave walls.
The basic tools of this class are a water source, a countertop and a $30 bag of art supplies that was shipped to each student (ink, a roller, some clay, and a thin sheet of plastic). Labitzke has a professional home studio, but he does the demos in his kitchen to make the process accessible. “It makes me appreciate the living spaces you all live in, and the messes you have to clean up.”
Many students are confined to tiny apartments, and often have roommates who aren’t happy to see shared spaces littered with art supplies. “I think good things happen in a mess,” Labitzke says. “Things happen by chance: Something spills on something and you think, ‘What a good idea!’” (Remember the cat?)
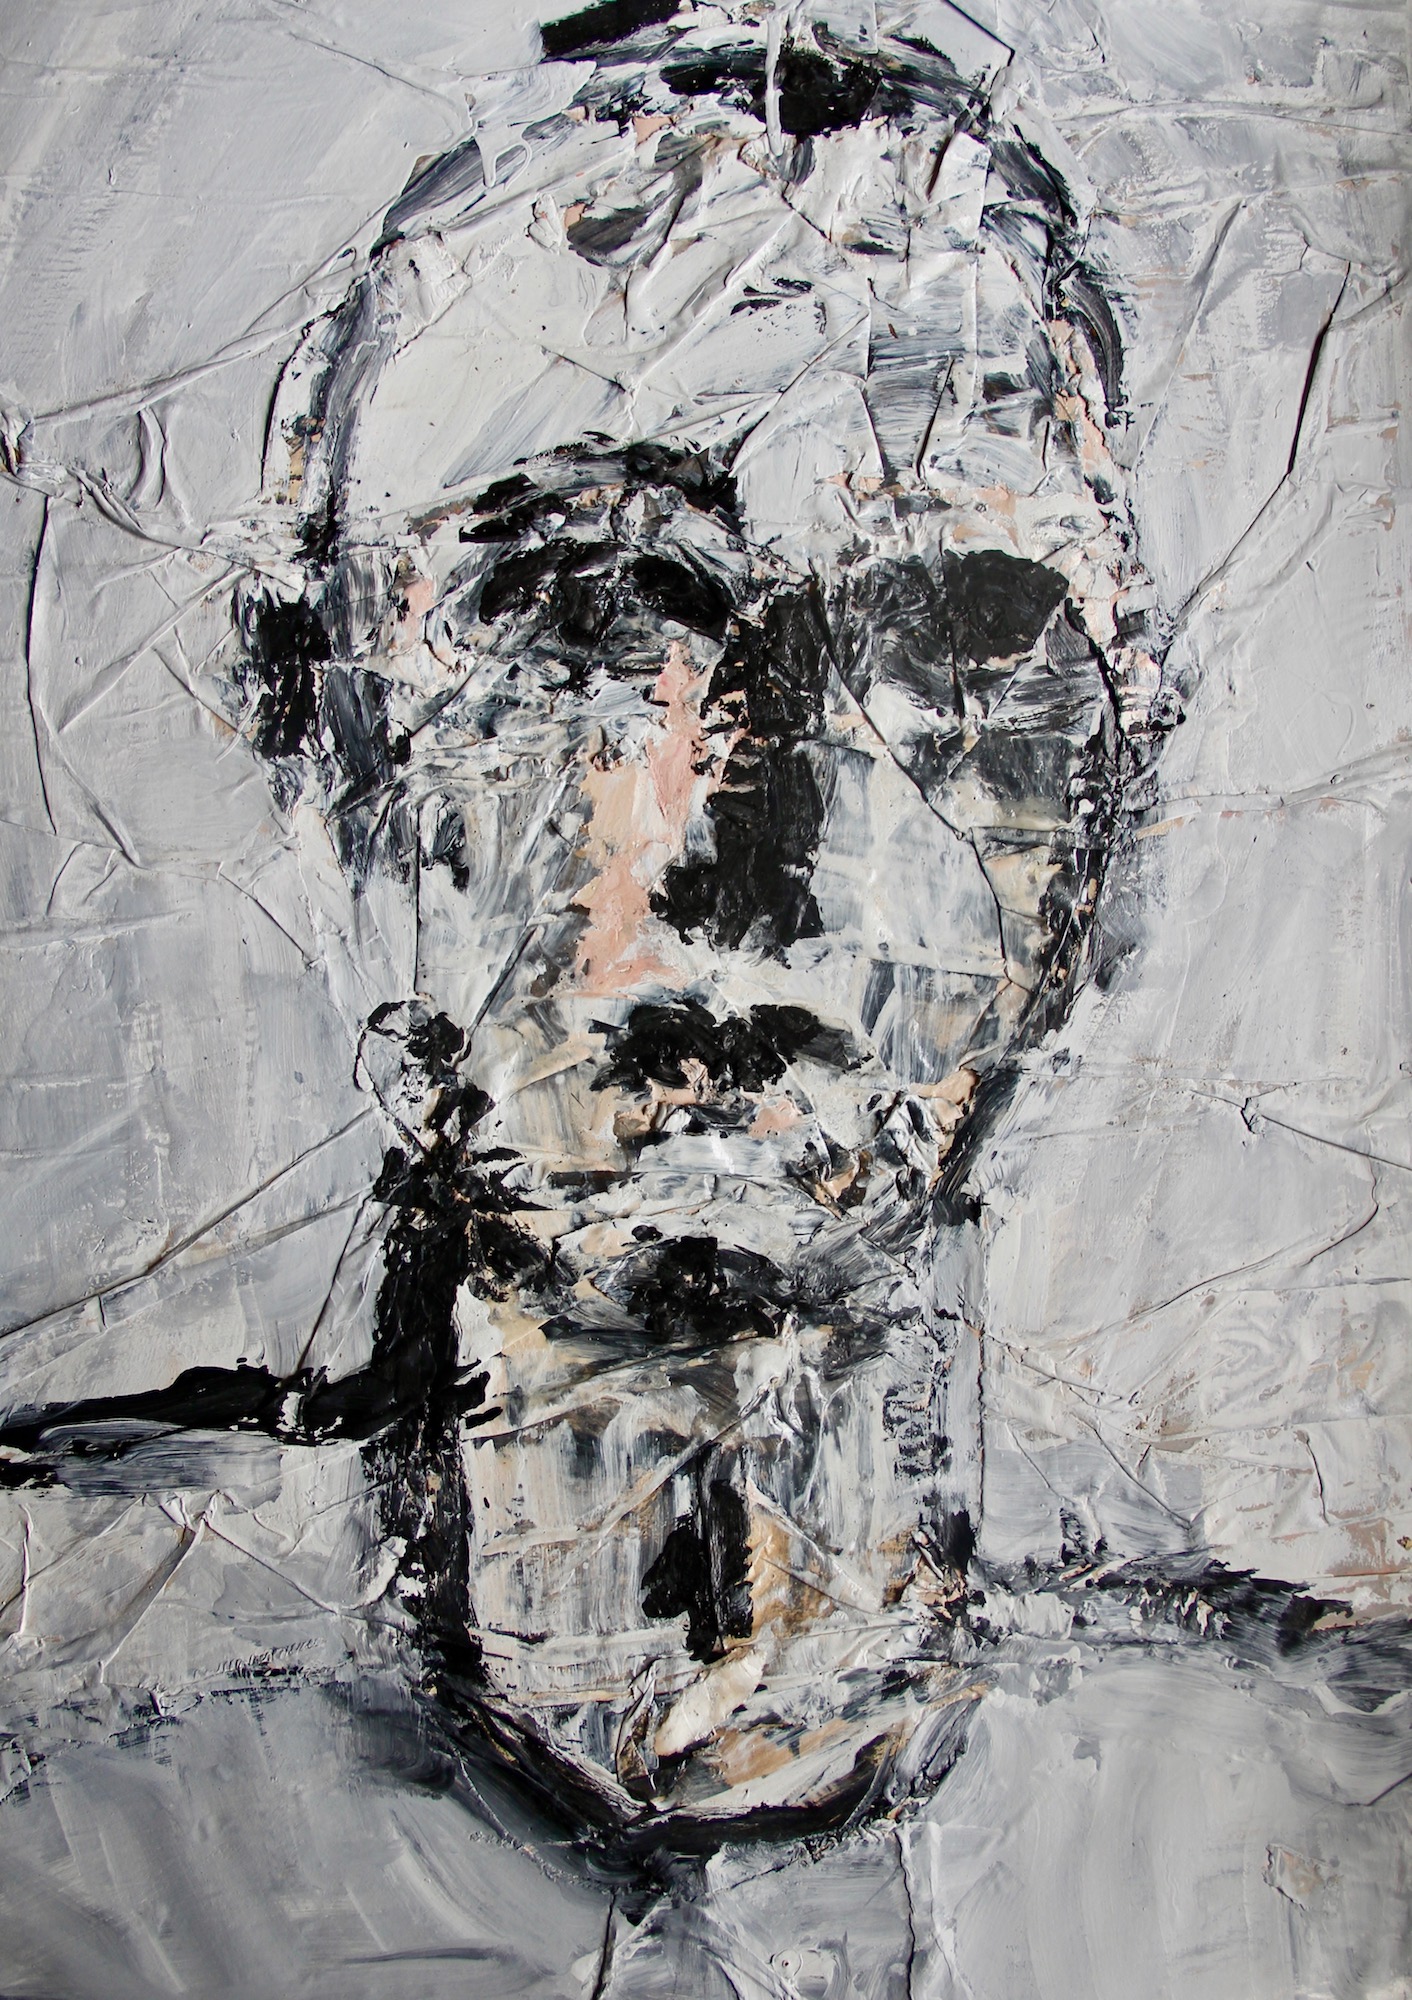
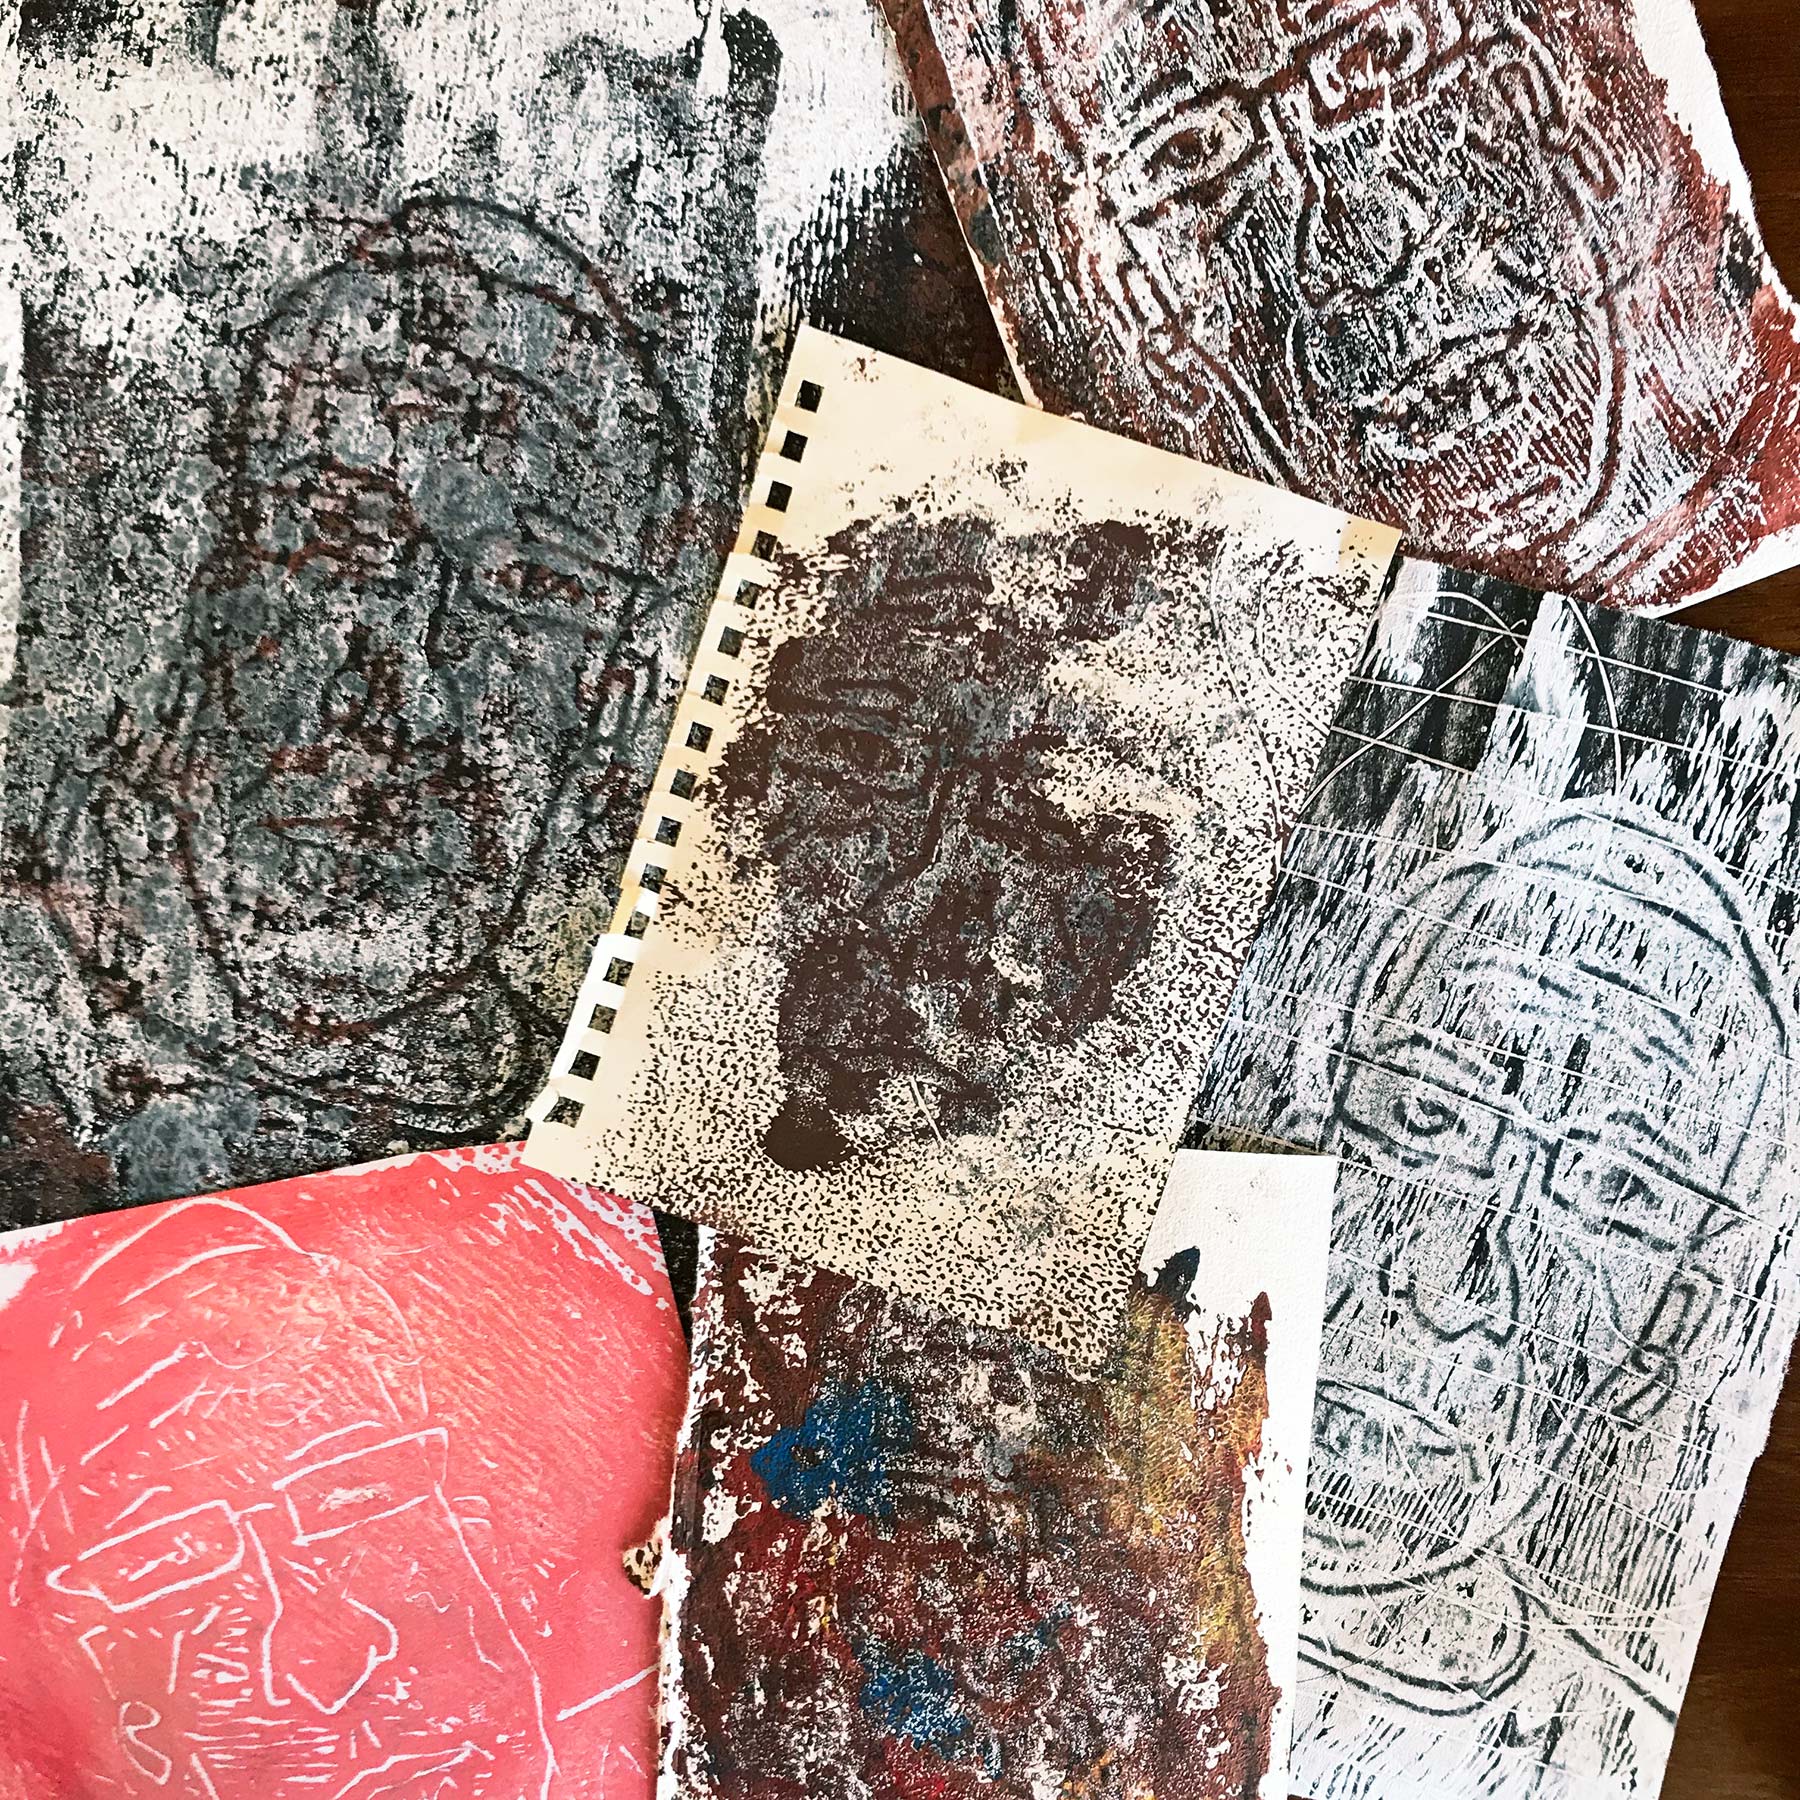
A print Labitzke made during summer quarter.
Labitzke pared down the vast medium of printmaking to design a world of learning tailored to the pandemic: a simple workspace, a bare-bones toolkit, an easily digestible syllabus. And then he operated inside that world as if there was no reason his students couldn’t learn what he was teaching them, even if it had to happen through a computer. He also ran the class with compassion and flexibility. Need to miss a day? No problem—just watch the recorded lecture online and do your homework when you can find time.
Instructional technician Kim Van Someren, ’04, chipped in logistical help throughout the quarter, sitting in on classes and answering questions when needed. The students shared an online learning space with their peers in a related summer course in bookmaking, taught by Artist in Residence Claire Cowie, ’99.
Labitzke’s class focused on four techniques over four weeks, a less-is-more structure welcomed by students who were swamped with mental, physical and economic challenges. All of the techniques can be done by a young child, and they were all used by masters of modern and classical art.
The first technique is a rubbing. Put a piece of paper over an object or textured surface, such as a leaf or a coin, and rub it with a pencil or a crayon until the pattern of the object is copied onto the paper.
The second is a stamping: Take a leaf and ink up one side of it, then press it onto a piece of paper. Use scrap paper and press down to help soak the ink into the leaf and onto the paper.
The third is a clay print: Flatten a handful of oil-based clay, available at any art store, and then carve a design into it with a pointed object; roll ink onto the clay, and then press a piece of slightly damp paper on top of it to ink the design onto the paper.
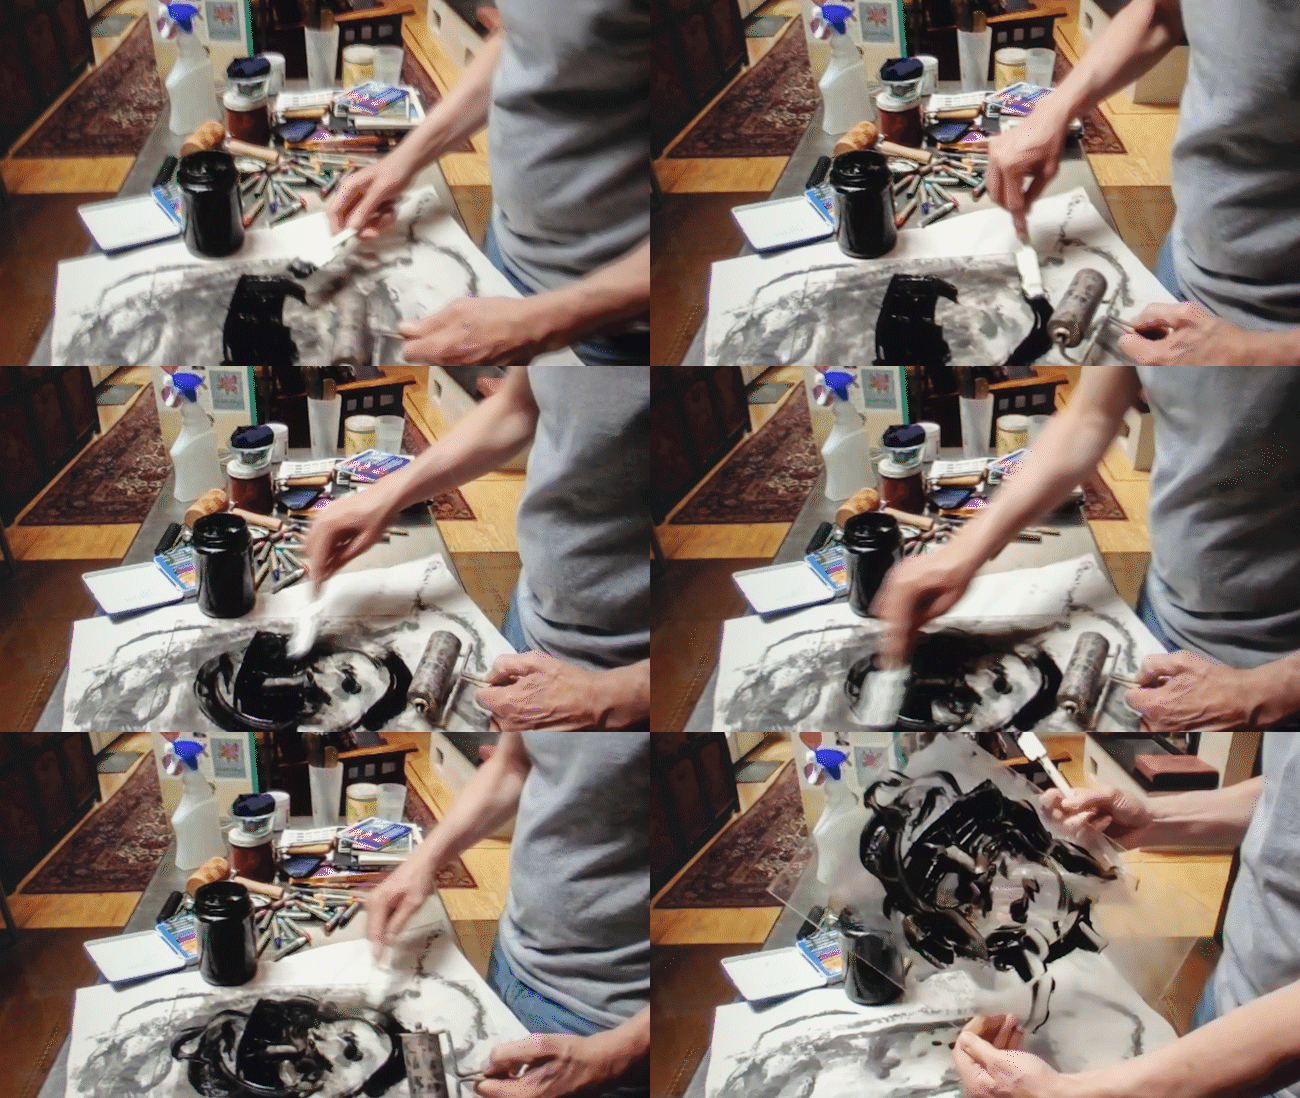
The fourth is a monotype: Roll ink out onto a sheet of plastic or glass. Place a damp piece of paper onto it, but don’t press down. Then use a pencil or pointed object to draw on the side of the paper that faces you. When you pull the paper up, the design you drew will appear in ink on the other side.
Printmakers combine these four simple techniques to create infinitely complex images, but Labitzke’s students typically focused on one technique at a time, stamping rocks and flowers to make landscapes and drawing self-portraits with sticks and string. It’s less about making masterpieces and more about simply making.
“This is a process-driven experience,” Labitzke explains. He compares it to the science that happens in other parts of campus: Sometimes researchers are trying to solve a specific problem, like finding a vaccine, but often they gather data and do experiments without an end goal in mind. “I don’t think you wake up in the morning and say, ‘I’m going to invent something new.’ It’s just working and seeing what comes out of that.”
Still, this process—and this class—isn’t necessarily about being an artist. It’s about letting art into your life, about putting a little bit of who you are onto a piece of paper. It’s about the idea that a world without art would be just as scary as a world without a vaccine. It’s art as hope.
“Most of the people who take art classes are not going to be artists, but art can be a part of their life,” Labitzke says. This comes up when Aakash Kurse, ’21, a mechanical engineering major, presents his final project: a series of diagrammatic patterns inspired by microchips and wrenches. “They’re technical drawings,” he says, downplaying the pictures. “I think they look cool, but it’s definitely not artistic.”
Labitzke disagreed. “I know that you’re not an art student, and at times I sense you’ve struggled with knowing what to make,” he says. “But these images are perfect for you, because they come from what you love, and who you are, and what you do. And that’s what art is. Everybody sees the world differently, and you get to experience that through their work.”
At another point in the final presentations, senior Leigh Stone, ’21, reveals that she had driven her van over her piece after seeing a YouTube video about different ways to print without a press. “That’s what you do,” Labitzke says. “You take the heaviest thing you own and put it on top of the paper.”
Not to be upstaged, drama major Jaime Dahl, ’21, explains that he had not only pressed his own inked hand onto the canvas, but that it was two in the morning when he decided to rub ink on his own face, stamping it onto the canvas to create a self-portrait. “It really burned my skin,” Dahl tells the class with amused satisfaction. “I had to put olive oil on it.”
Labitzke looks on with pride, separated from his students by a computer screen but connected, as closely as ever, by art. “You are a printmaker,” he says.
Warning: Undefined array key "thumbnailoption" in /data/www/columns_wordpress/wp-content/themes/columns/vendor/Columns/MagazineGallery.php on line 179
Warning: Undefined array key "thumbnailoption" in /data/www/columns_wordpress/wp-content/themes/columns/vendor/Columns/MagazineGallery.php on line 179
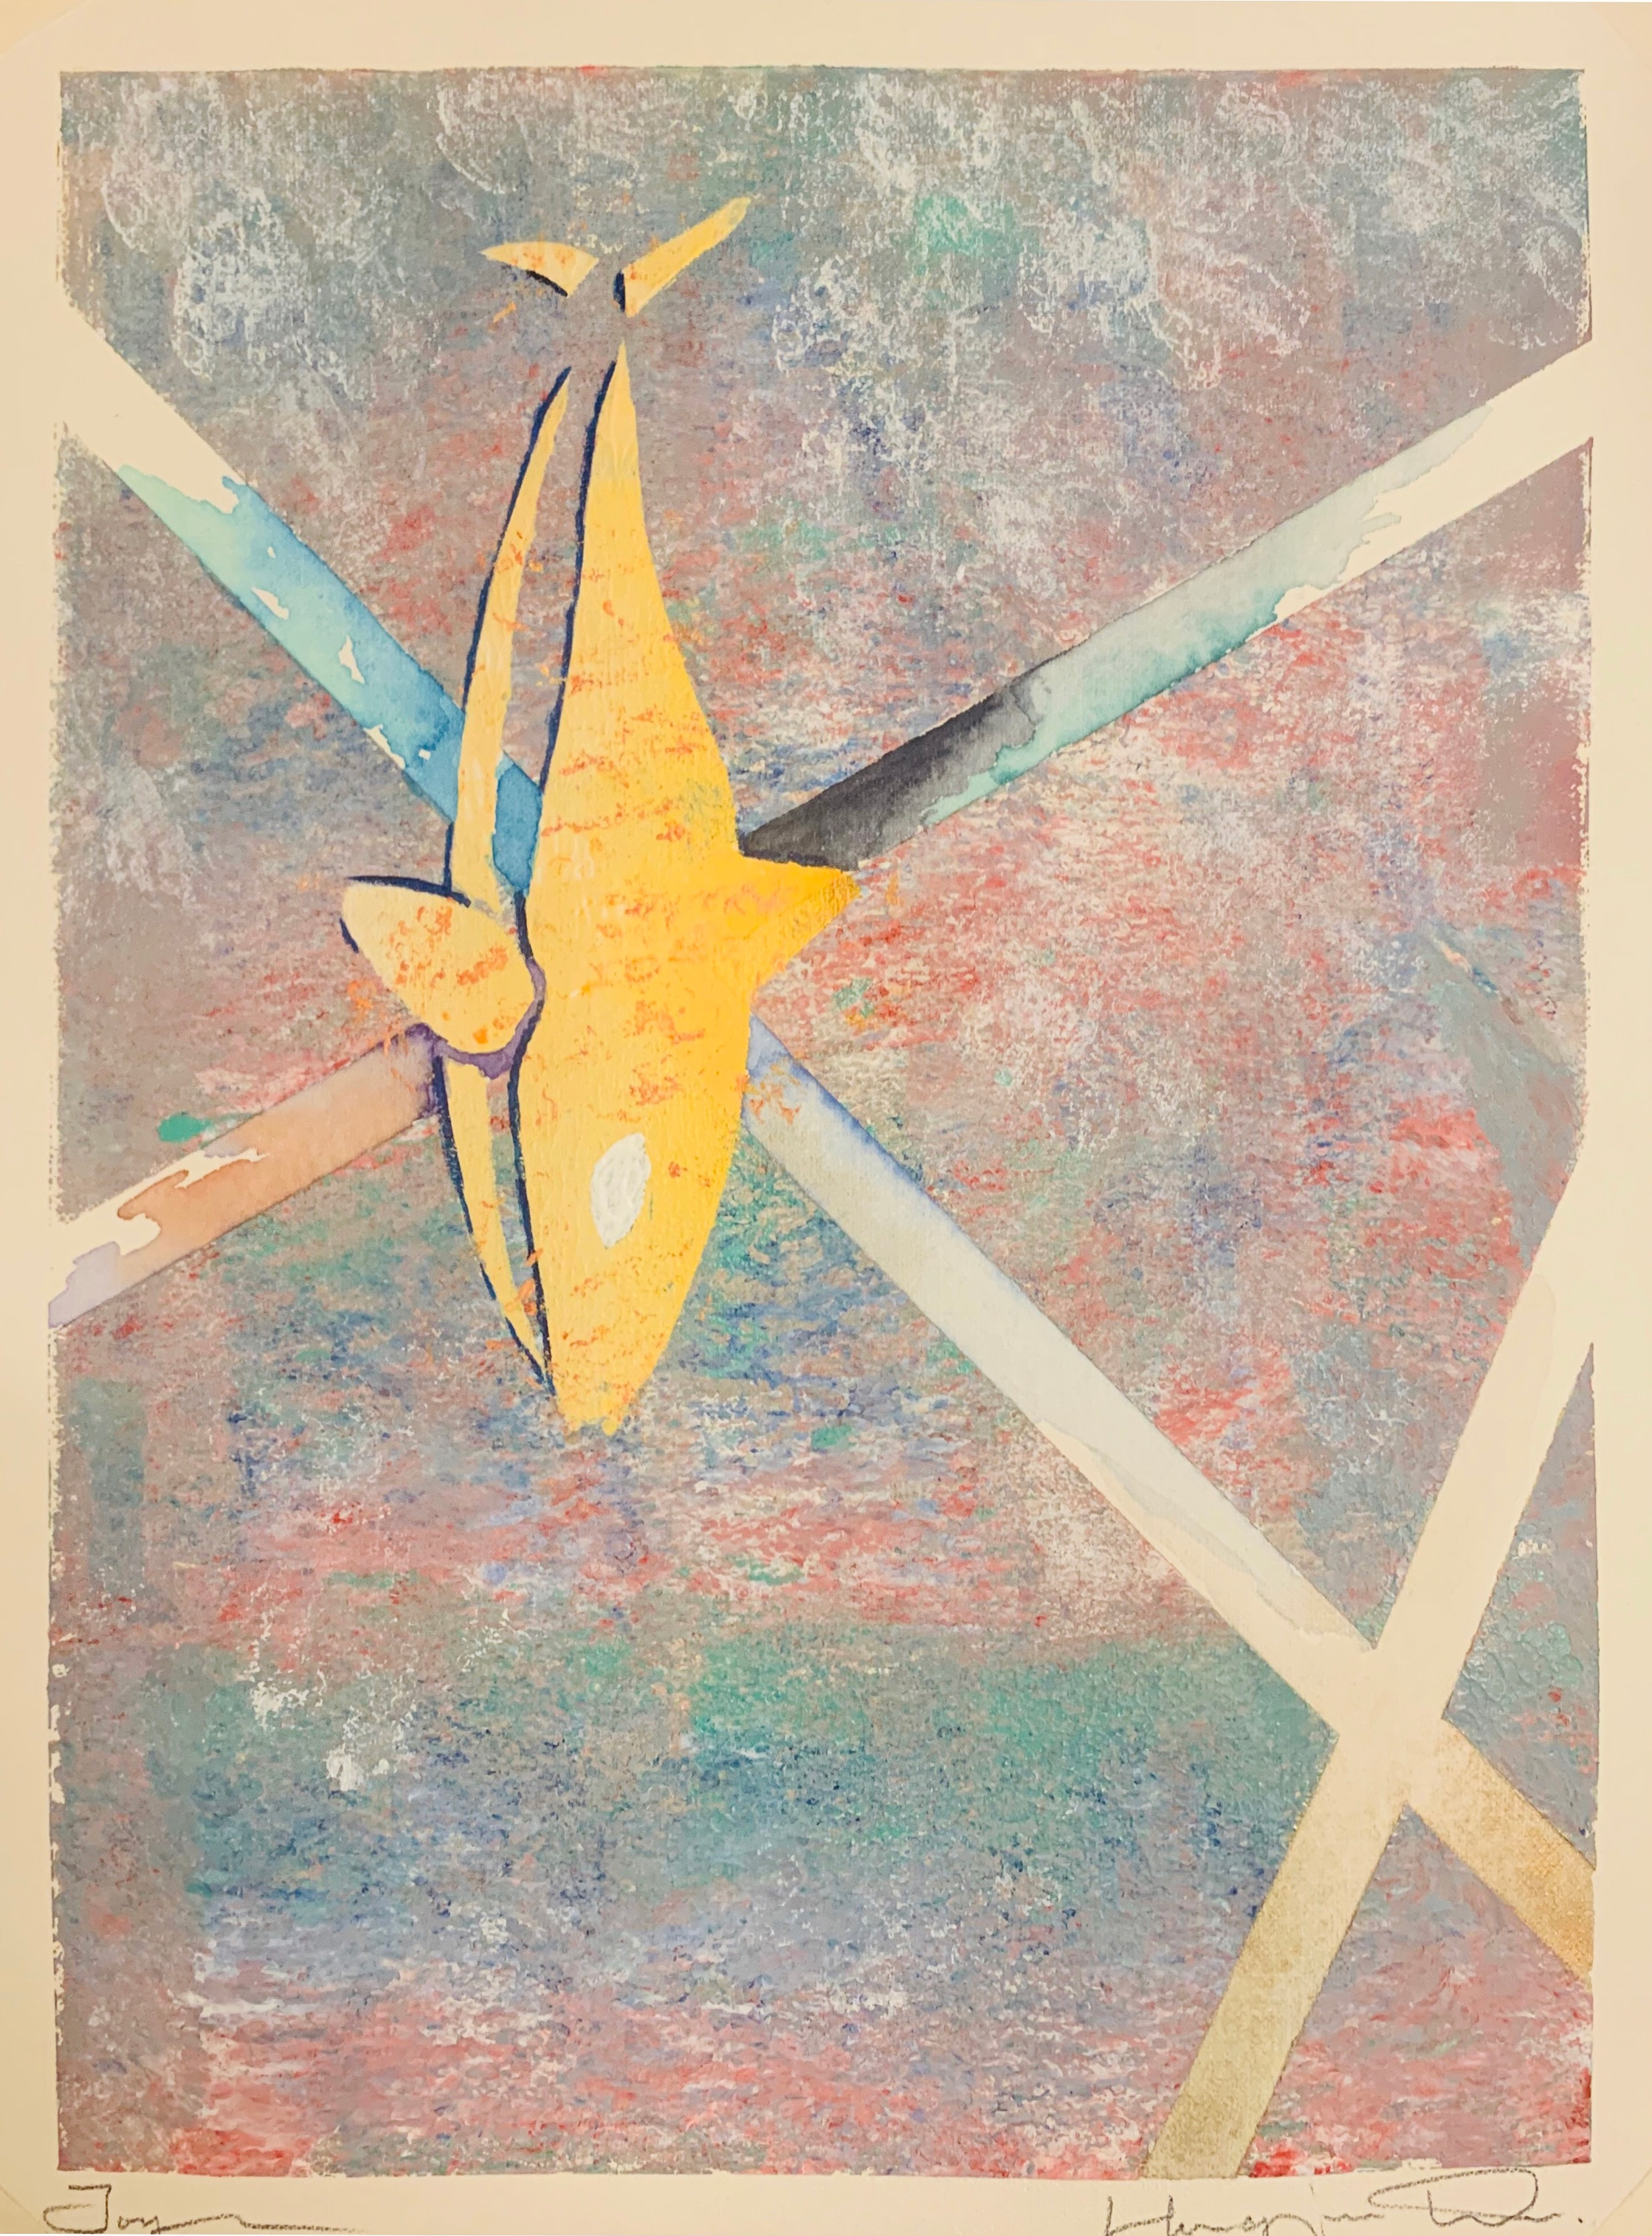
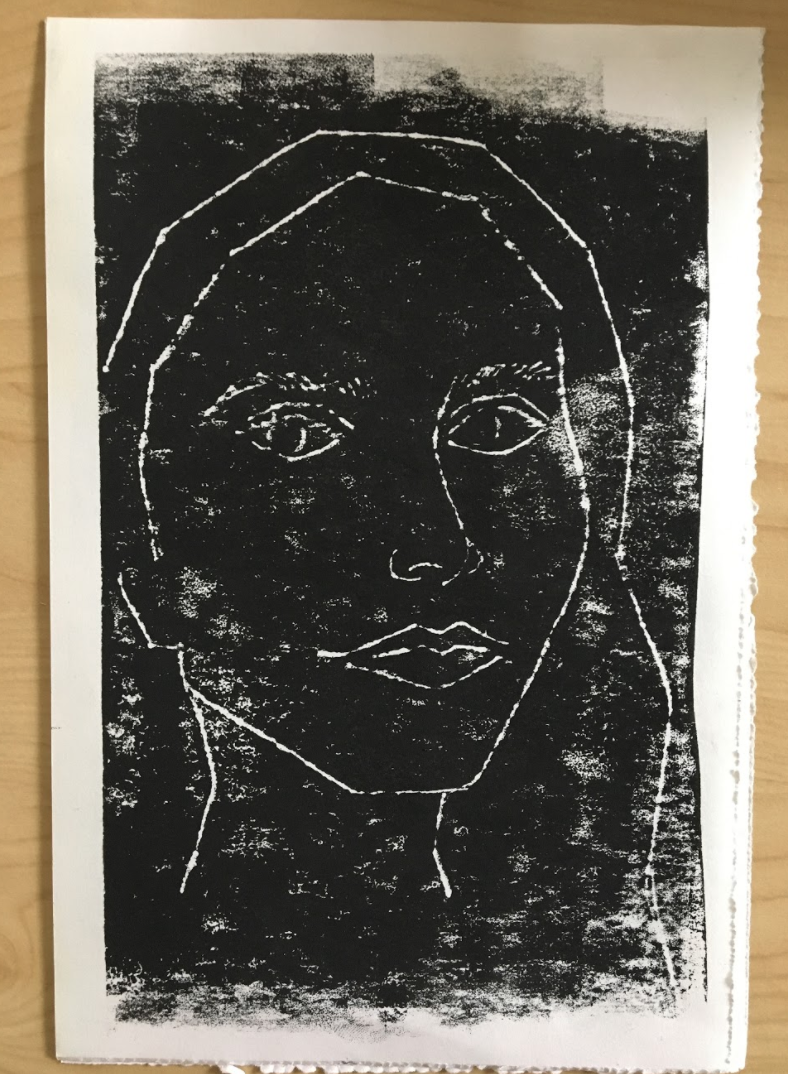
Student work

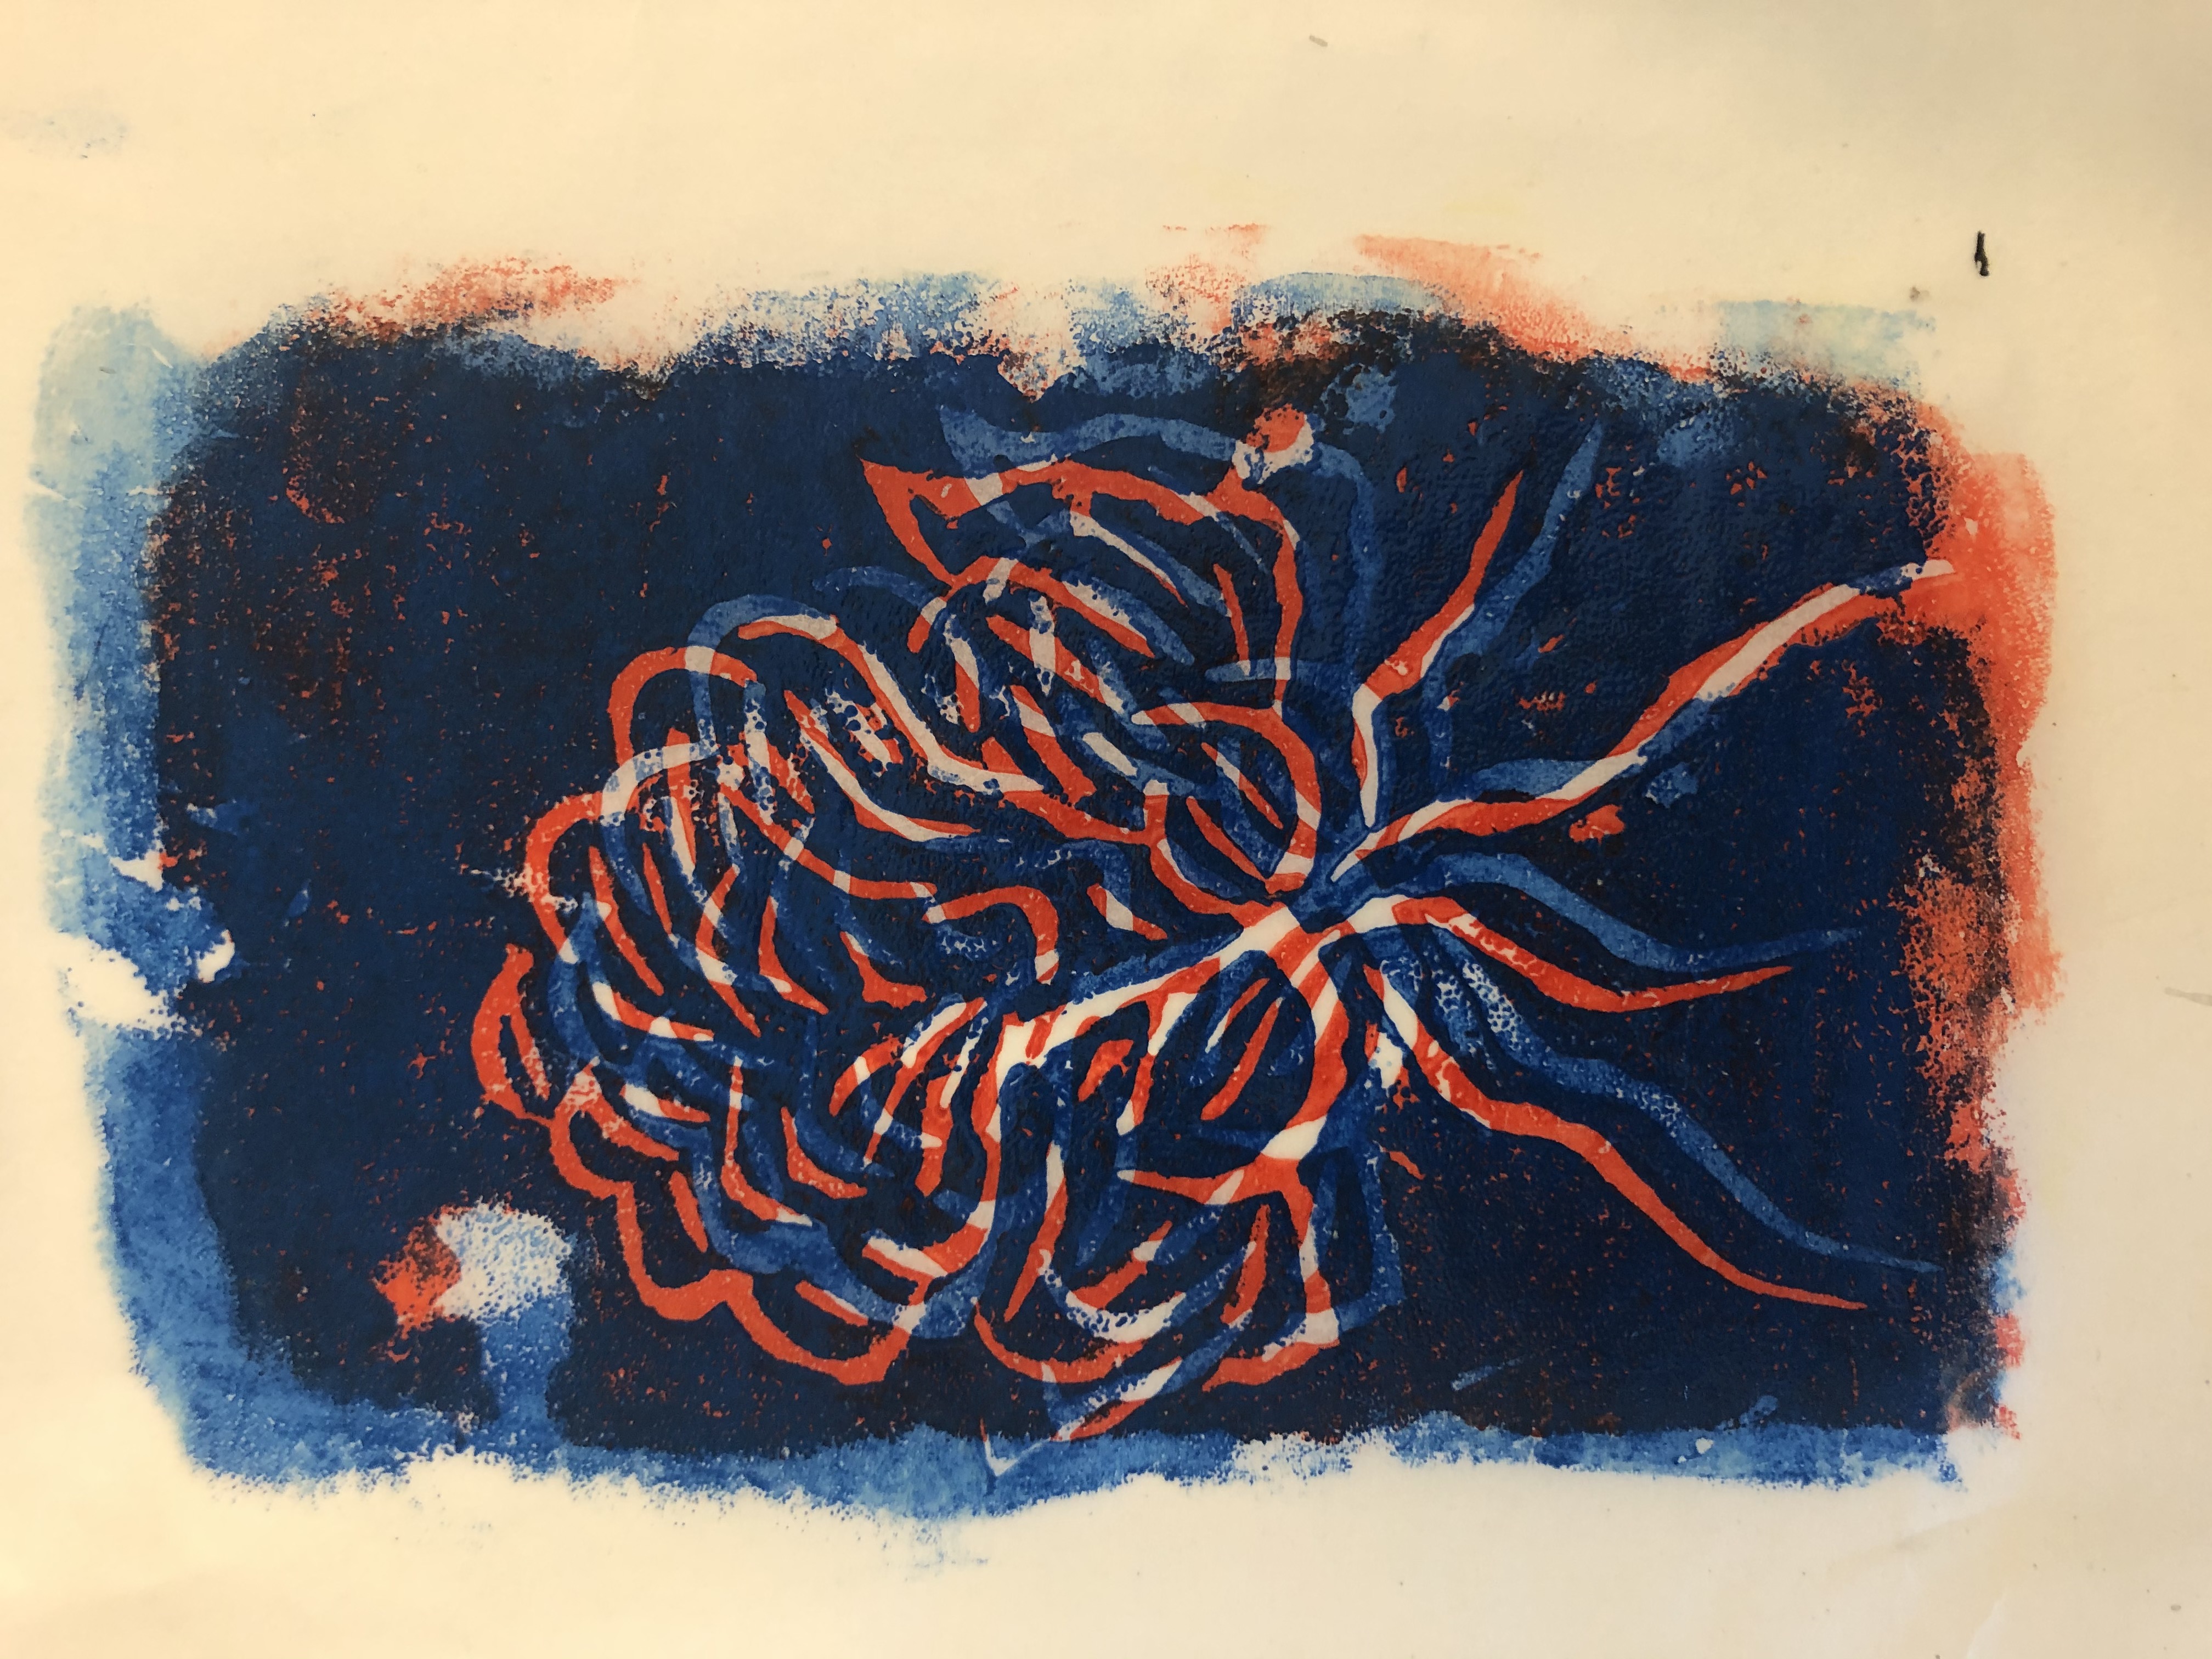
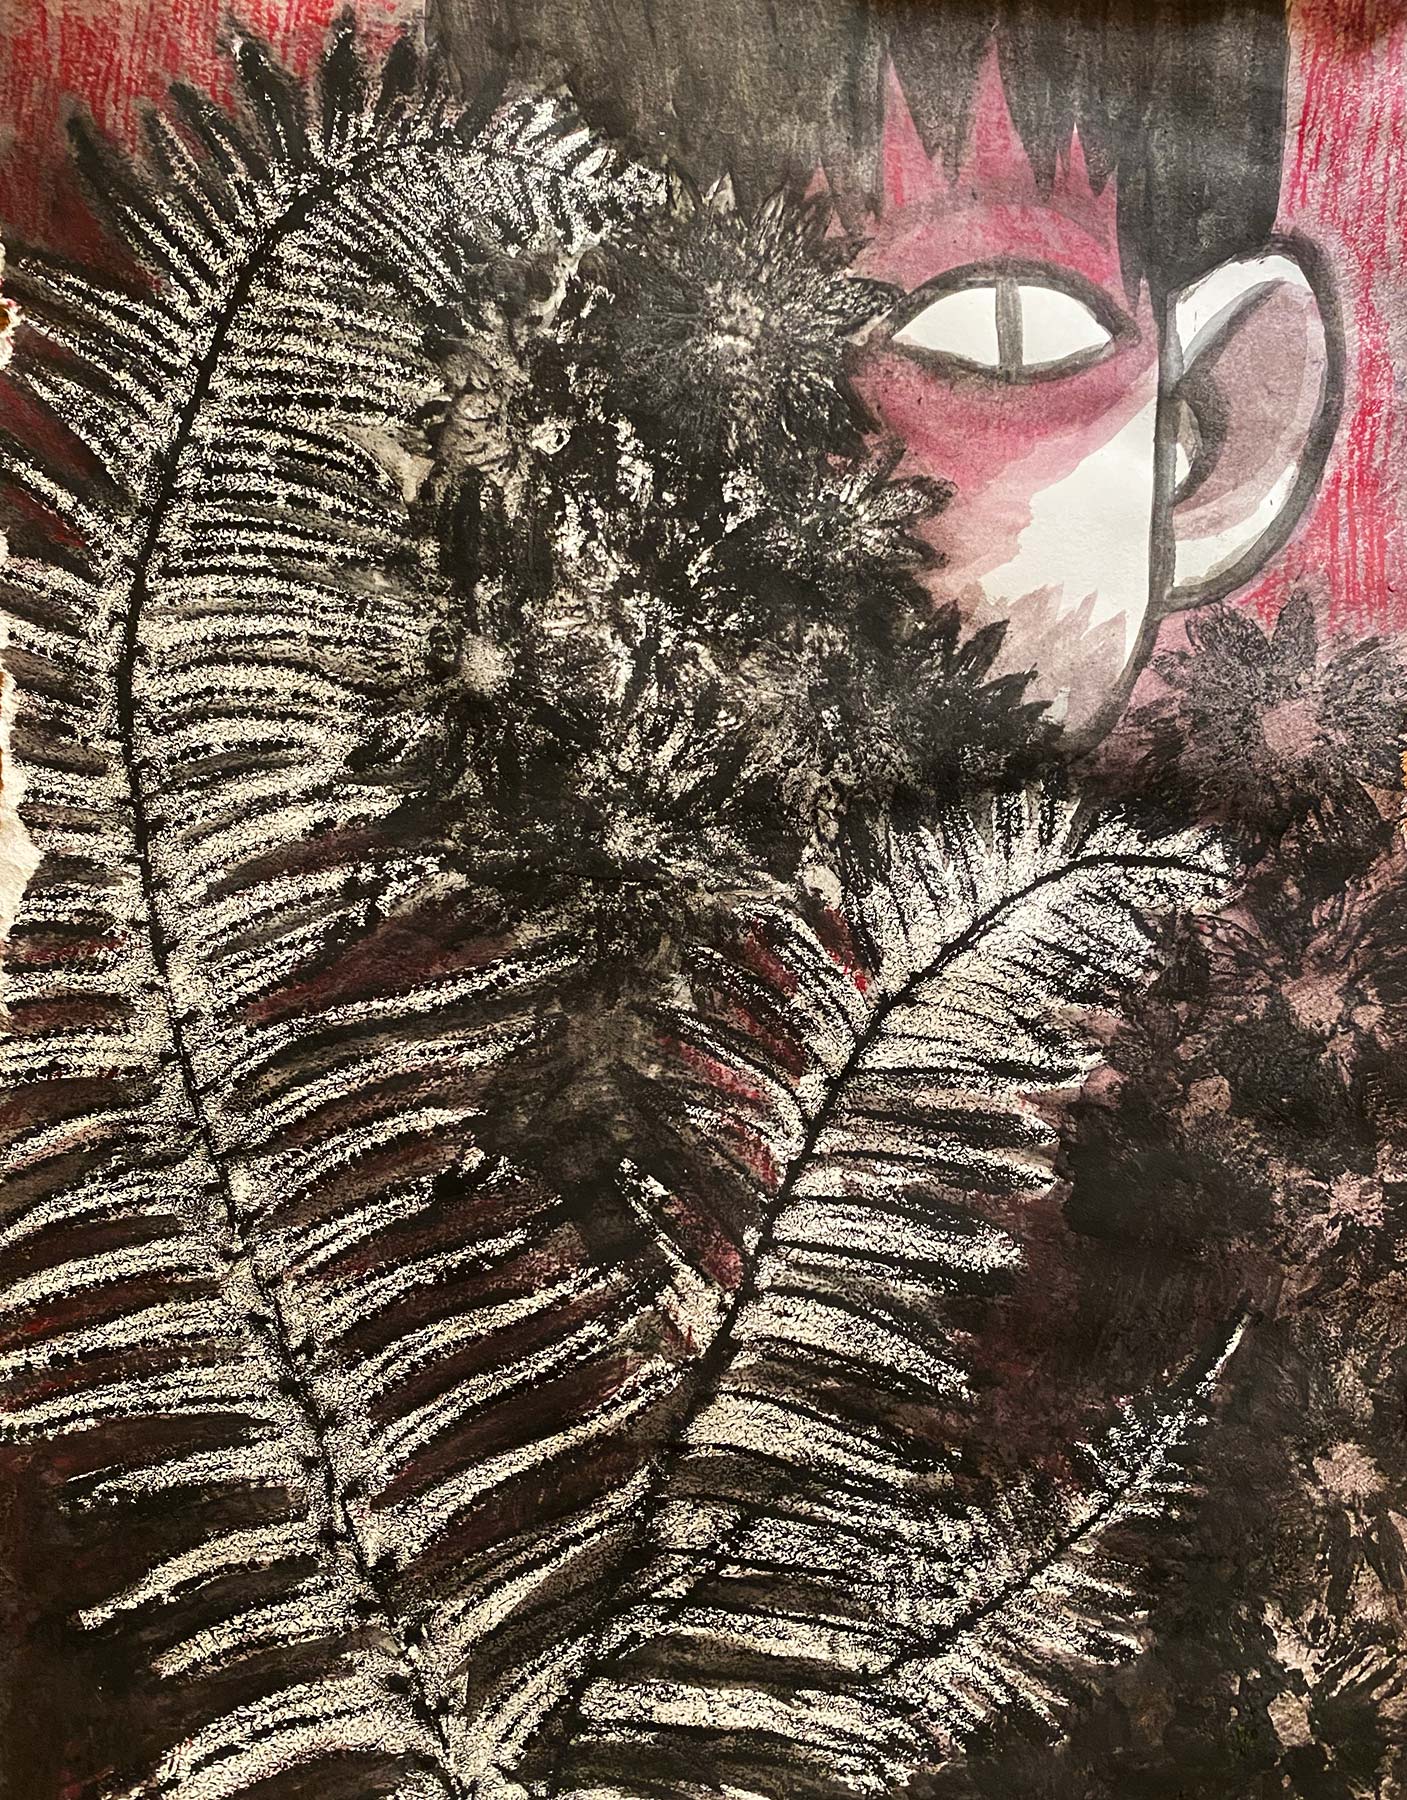

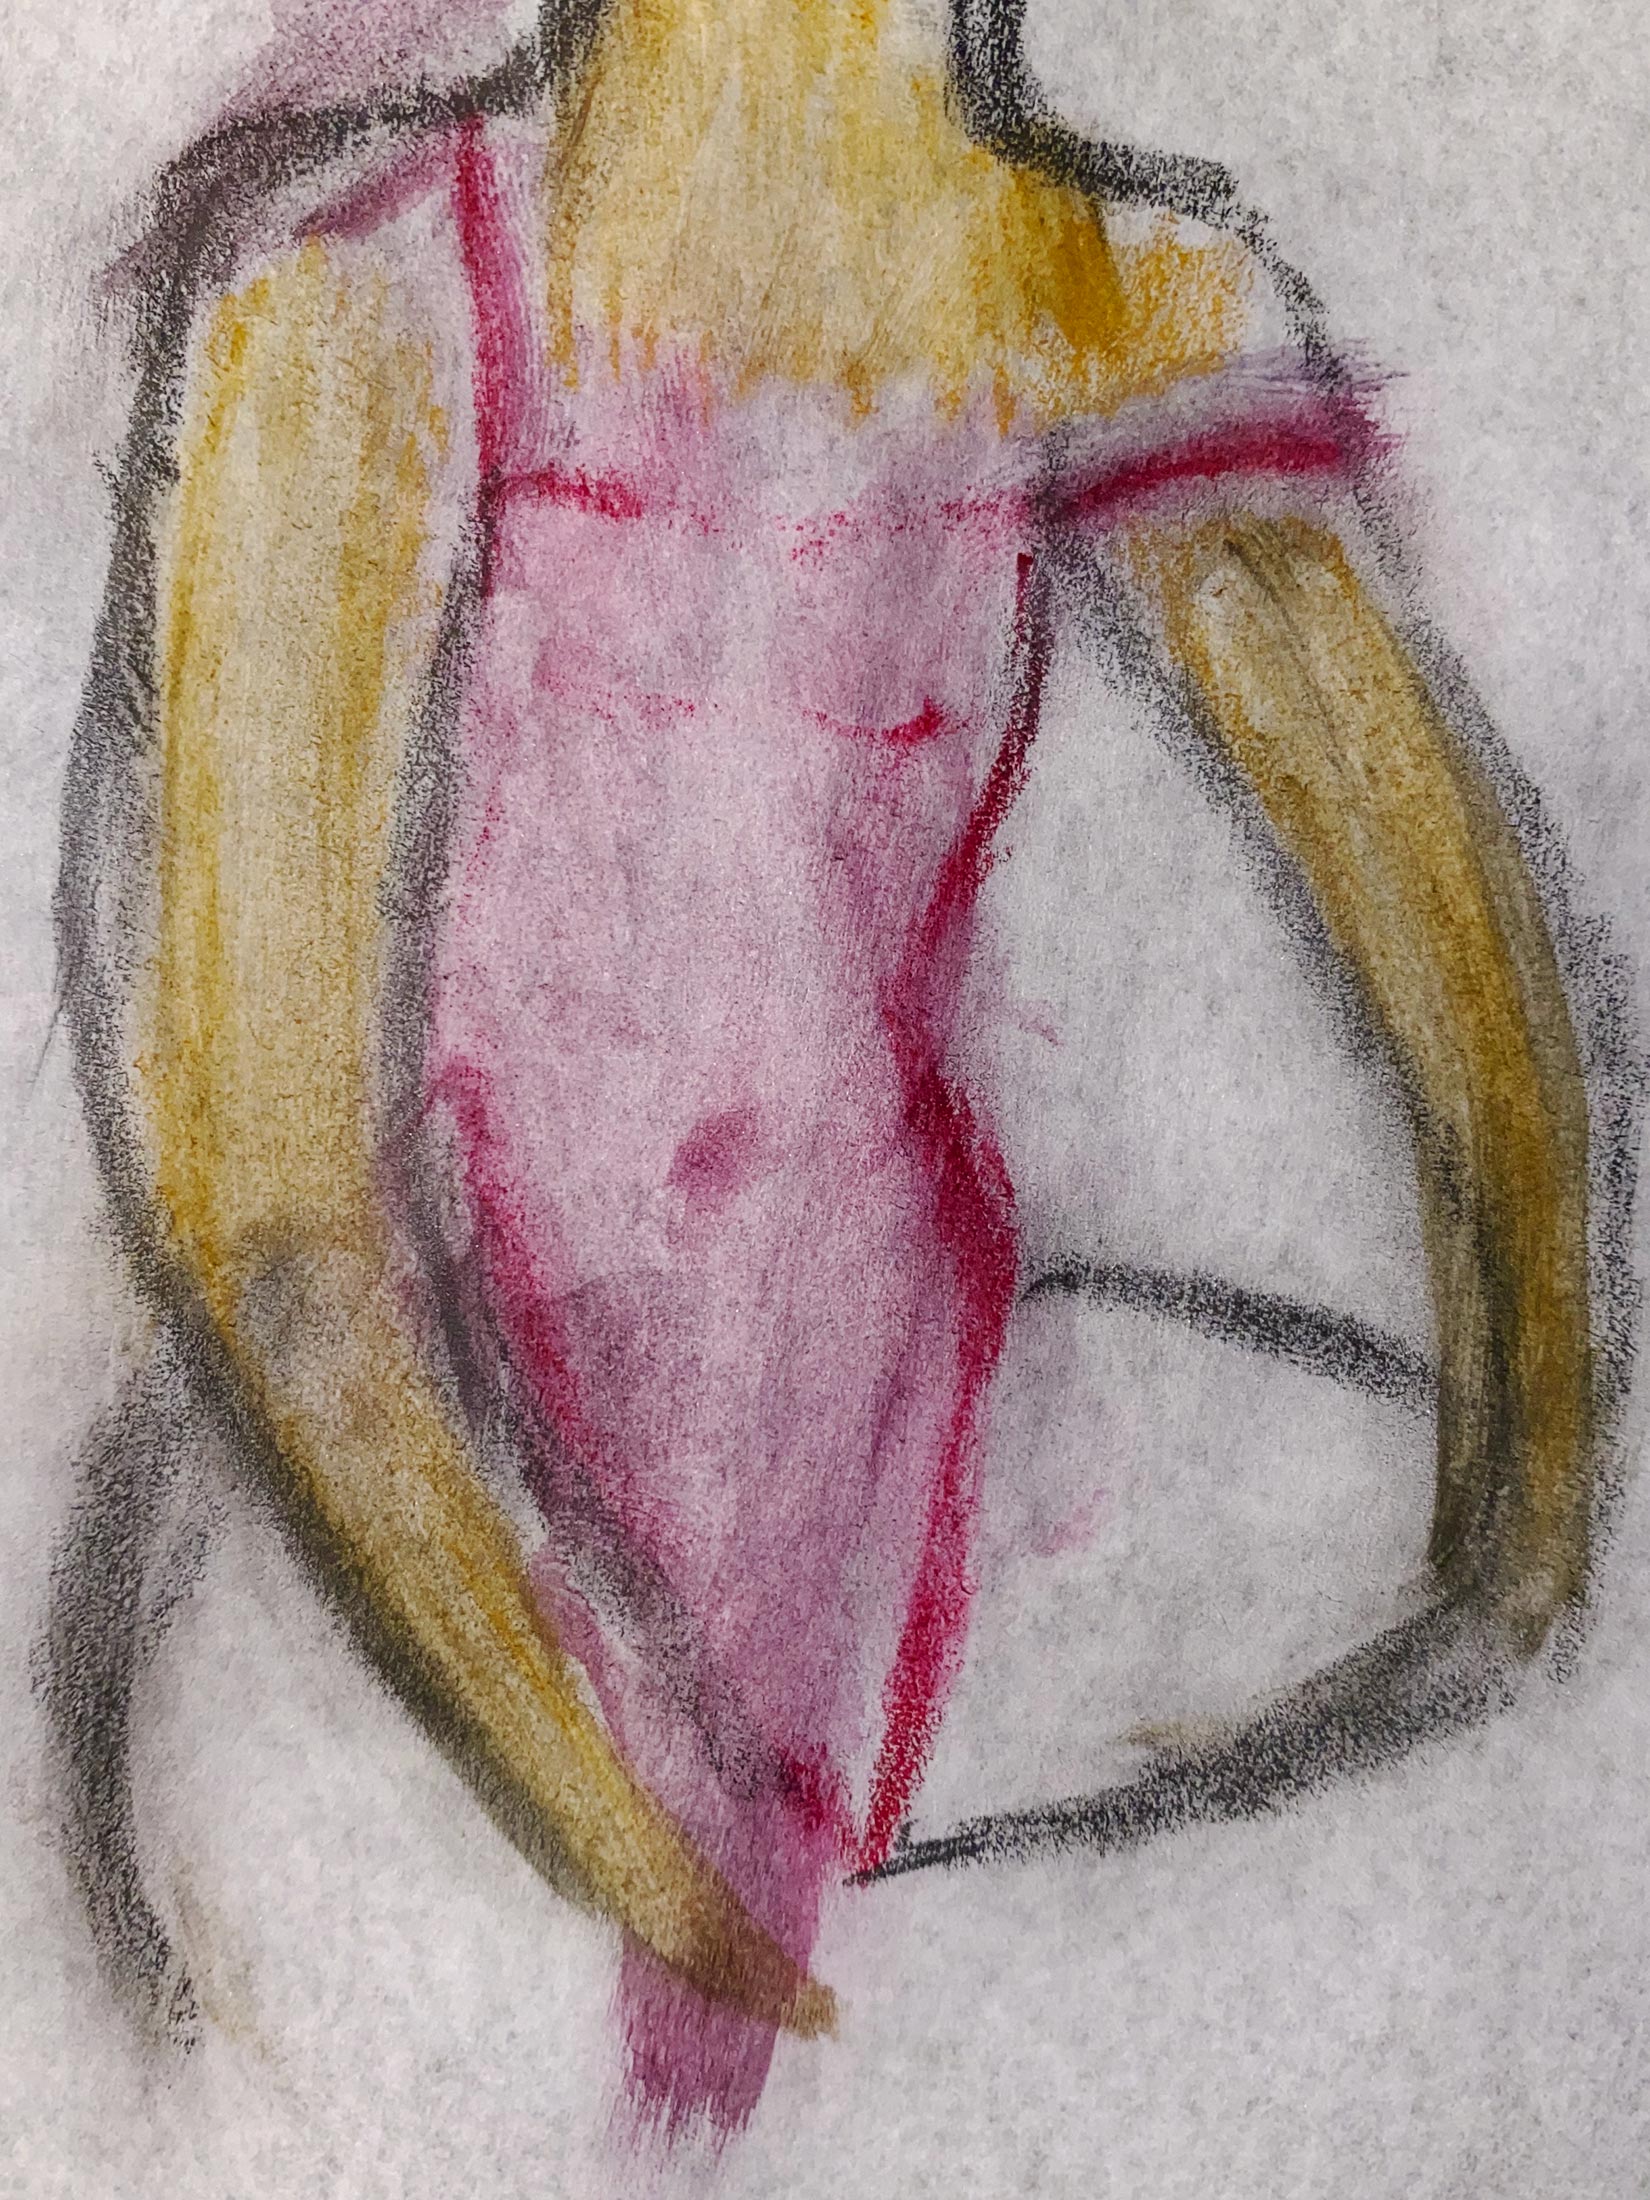
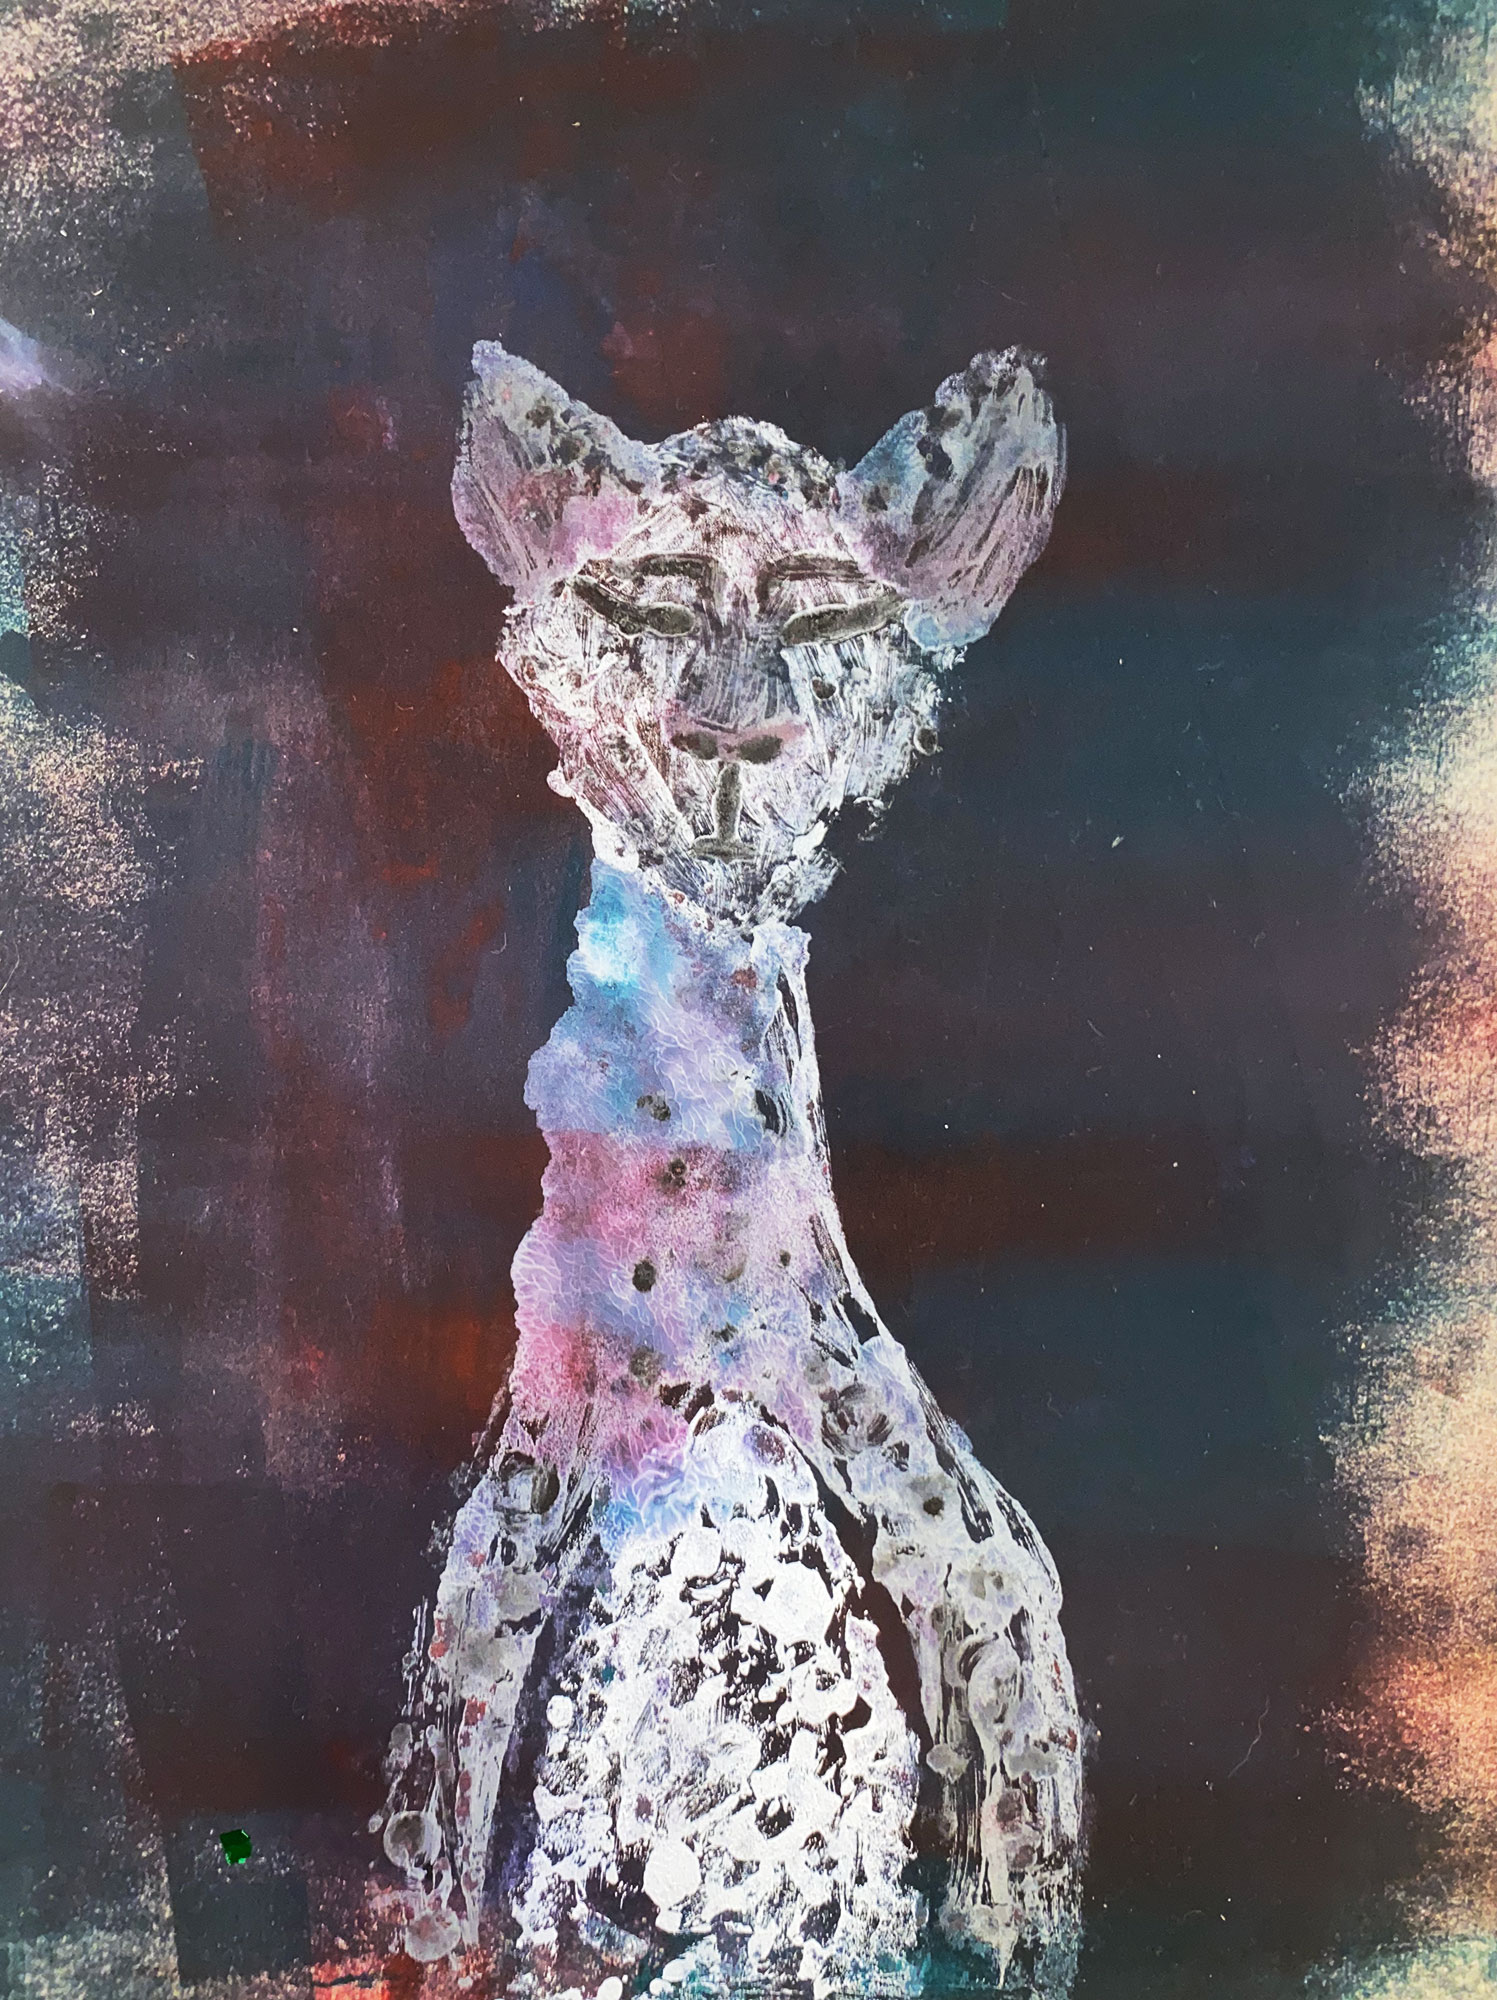


Your turn
It’s time to get printing. Don’t be intimidated—you just need a simple idea to get started, like drawing a smiley face or making a stamp from a flower you found on the sidewalk.
Supplies
Remember, the history of art is about making due with what you have. These are the main ingredients, many of which you likely already have around your house, but there are plenty of substitutes and workarounds.
A surface to work on
Clear off your coffee table, kitchen counter or desk. We’re working with water-based ink, so it will come off of finished surfaces with an all-purpose cleaner like Simple Green. (But just to be safe, don’t use it on great-grandma’s antique table.)
Water source
You need to splash, spray and wipe down things throughout this process. A sink is the best water source, but keep a spray bottle handy.
Paper
You can use printer paper, construction paper, mixed media paper or even the back side of junk mail. There are two categories of paper: thin and thick. Thin will absorb the ink better, but it tears easier. Try both.
When ink or paint is involved, the paper works best when slightly damp. Spray it lightly with a water bottle (don’t soak it!) and hold it up to your face to make sure it’s cool. If you’re doing a bunch of printing, Labitzke suggests making a “damp book” the night before: Spray a bunch of pieces of paper, and then stack them in a plastic bag overnight.
Ink
Block-printing ink, which you can find at any art store or buy online, rolls out smoothly and can be easily cleaned. You can also use acrylic or watercolor paints. Start simple with black and white, which you can also mix into gray.
To add color from your kitchen, you can start with white and add household dyes like coffee, curry powder, cherries, sriracha and even pulverized Cheetos. Get creative. Before arts and craft stores, printmakers had to make all of their own supplies.
Writing utensils
Grab whatever you have lying around the house: Colored pencils, crayons, markers, pastels and graphite pencils. Thick, water-soluble graphite sticks work particularly well for rubbings, and are a great kid-friendly alternative to sharp pencils in general. Other pointed objects, like a chopstick or a paper clip or a hairpin, are great for cutting into clay.
Ink plate
This is what you put ink on before it’s transferred to the paper. A thin sheet of acrylic works well for this, but any smooth surface will do the trick: a sheet of glass, such as from a picture frame, a mirror, or a smooth countertop with tinfoil on it.
When doing clay prints, we’ll roll ink onto oil-based clay, which you carve into with a pointed utensil, like a stick or a needle, to create a stamp. You should buy this specific type of clay, made by Plastilina among other brands, because it’s nondrying.
Roller & burnishing tool
We’ll be smoothing out the ink with a one-handed rubber roller, called a brayer, which can be found at any art store for about $10. But you can also spread the ink onto the ink plate with a paintbrush, a plastic knife or even your fingers.
You’ll need to press the paper on to the ink plate so that it soaks up the ink. You can do this with your hands, but a burnishing tool, such as a flat wooden spatula, works well. It also helps to use wax paper or tracing paper on the back of the paper, to prevent it from tearing when you burnish it.
1. Make a Rubbing
You probably did this in elementary school. It’s one of the most accessible and instantly gratifying methods of making art. You’re grabbing the texture of an object and copying it onto a piece of paper. Anything with a textured surface will work.
Start with a simple object, such as a coin, and place a thin piece of paper over it. A colored pencil may work better than a plain old #2. Give it a second pass with the pencil to add detail.
What should you use? The only rule is that the paper has to be able to wrap around the object without tearing. Student Paola Sanchez took a rubbing off of the textured wall in her home, which yielded a pleasant pattern that looked nothing like a wall. A thick graphite stick or crayon will probably work better on a rougher surface, since a pencil tip may crack.
You’ve seen us do the classic leaf rubbing. Now let’s build on that. Arrange objects in a pattern, and then draw over it. Now you’ve made a design, not just copied a coin.
Using a water-soluble pencil, pastel or crayon, spray mist the paper to add richness to the rubbing. Careful: This can rip a thinner paper.
By glueing sticks, leaves or string on to a sheet of paper, you can make a design and then print from it using a writing utensil.
2. Make a Stamping
You know what a stamp is. But do you know how many things can be a stamp? Leaves, rocks, coins and fingertips are a great place to start.
Printing with food can be a great way to make the process accessible and fun. Let’s grab a bell pepper. The harder you press, the more information will come across (more isn’t always better).
3. Make a Clay Print
Now we’re going to carve designs into clay. Using your hands and a roller, flatten a slab of oil-based, nondrying clay, making sure to keep it at least 1/8th-inch thick.
Using a pointed object, such as a chopstick, to carve a design into clay. Then roll or rub ink onto your clay. Press a sheet of slightly damp paper onto the clay, and smooth it out. Rub it with a burnishing tool. When you peel up, the design will be copies. It helps to use a sheet of wax paper in between your paper and burnishing tool to prevent tearing.
Don’t try to draw in too much detail. “It helps if you simplify your shapes,” Labitzke says. “Leave areas unmarked, and be open to the abstraction that comes from the process.” Anything you print will show up in reverse on a piece of paper. One way to correct this is to take a ghost print (mentioned later).
Try to cut your clay into shapes before carving designs into it, so your stamp will be a shape.
This is an oil-based clay, so it can get wet. To clean your clay, press the remaining ink onto pieces of scrap paper to clean it. Wash off the ink as best you can with a paper towel. Let it dry before you use it again. It’ll be a little stained, but you can keep using it until it falls apart.
4. Make a Monotype
Earlier in the story we saw how to make a monotype by drawing on top of a piece of paper that has been placed on an ink plate. Another way to do it is to draw into the ink plate with a pointed object, such as a chopstick, and then press damp paper onto it.
No ink plate? You can still make monoprints by drawing with ink or painting on a piece of paper, and then pressing another spray-misted piece of paper onto it. You might ask, “Why would I do that, when I could just paint it on the original piece of paper and be done with it?” Because you’re a printmaker! And also, because the printing process will alter the picture in ways you could never predict or invent: adding texture, blurring lines, fading color. The result is a picture that is related to, but independent of, the one you drew—and each new print is its own.
Ghost printing
Right after you make a print, you can press it onto another piece of paper to make a second print, called a ghost print. You can do this as many times as the ink lets you.
Each print you make will look unique, with its own “flaws.” That’s the charm of printing without a press—those mistakes are where ideas come from, ideas you never could have thought of on your own. And then you keep rubbing and stamping and printing, and ghost printing, and then half an hour goes by and you’ve created a floor full of fine art.
When you interact with the process and see how generous it is, you begin to understand how artists like Pablo Picasso and Henri Matisse arrived at so many of their ideas. The process can turn a single idea into 20 different ideas in 20 minutes. You get to pick the best one and move forward with it.
“The belief about a lot of these artists is that they just had great ideas come to them,” Labitzke says. “But they were working constantly, and they paid attention to what came out of the process.”
Layering
You will likely start by depicting one subject at a time, but by combining several prints and processes, you can create scenes. Create a background layer out of a rubbing, then stamp a foreground object on top of it, and draw over it again with the monotype process.
What to do with your work
It won’t take long for you to make something you like. Go ahead, take a picture and share it with the world, but don’t forget the old-fashioned way of showing off art: Frame it and put it in your house. This ain’t TJ Maxx stuff, this is original art—something no one else has.
“Any of these pieces that any of us make could be around for hundreds of years,” Labitzke says, without an ounce of exaggeration in his voice. “Somebody puts it in a frame, then it goes in an attic, then it goes to a garage sale, and then someone else puts it up in their house—and it’s something somebody made in a class 100 years ago. What an amazing thing.”
What’s next?
If you’re hungry for more, artist Kim Van Someren filmed a series of videos to explain printmaking in greater detail. Head over to her YouTube page to learn more about the process.
Feel free to ask any questions or share your work in the comments below!